"Any sufficiently advanced technology is indistinguishable from magic."
Arthur C. Clarke, Profiles of the future: An Inquiry into the limits of the possible
The man and the machine
 Technomancer concept
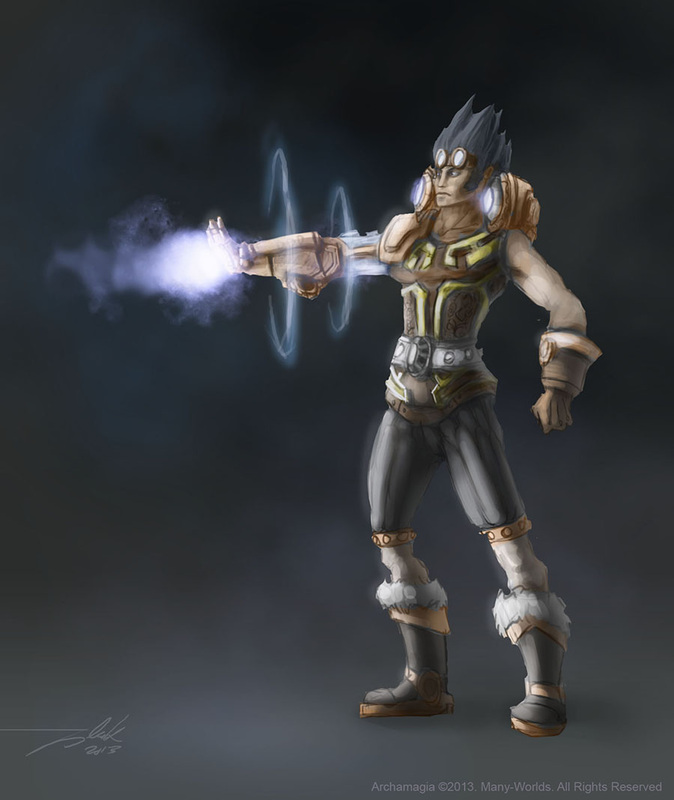
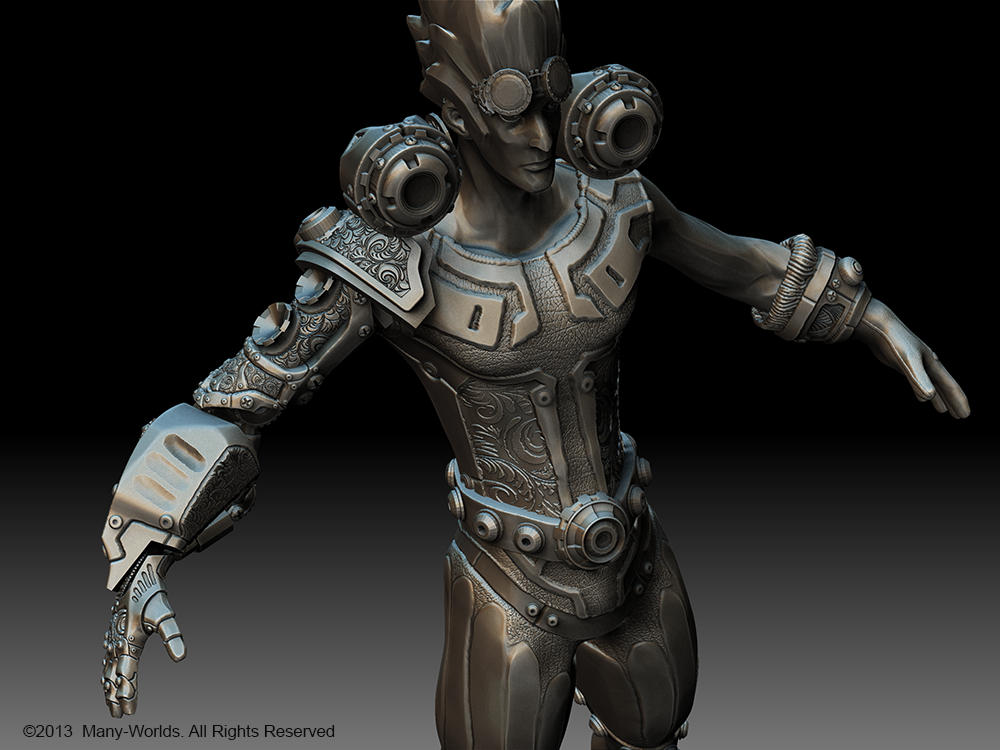
 The character we would like to write about today is a steampunk culture representative, a man whose force raises from a synergy with mystical powers, channeled through a variety of technological systems. These systems allowed him to become a hero from a simple mortal, and fight for his class in this apocalyptic duel of archmages.
As we wrote previously, we had already the final concept. It may not be very detailed, but it is enough to start with the 3d modeling.
In this simple concept, we can see how the character owns a pair of fundamental mechanical elements: the cannon backpack and the robot arm. As we already explained during the Rune Carver modeling process, this elements were modeled separated from the character, so we could replace them later during the game and allow you to customize your Archmage with unlockable skins.
An idea that evolves
 Almost finished model
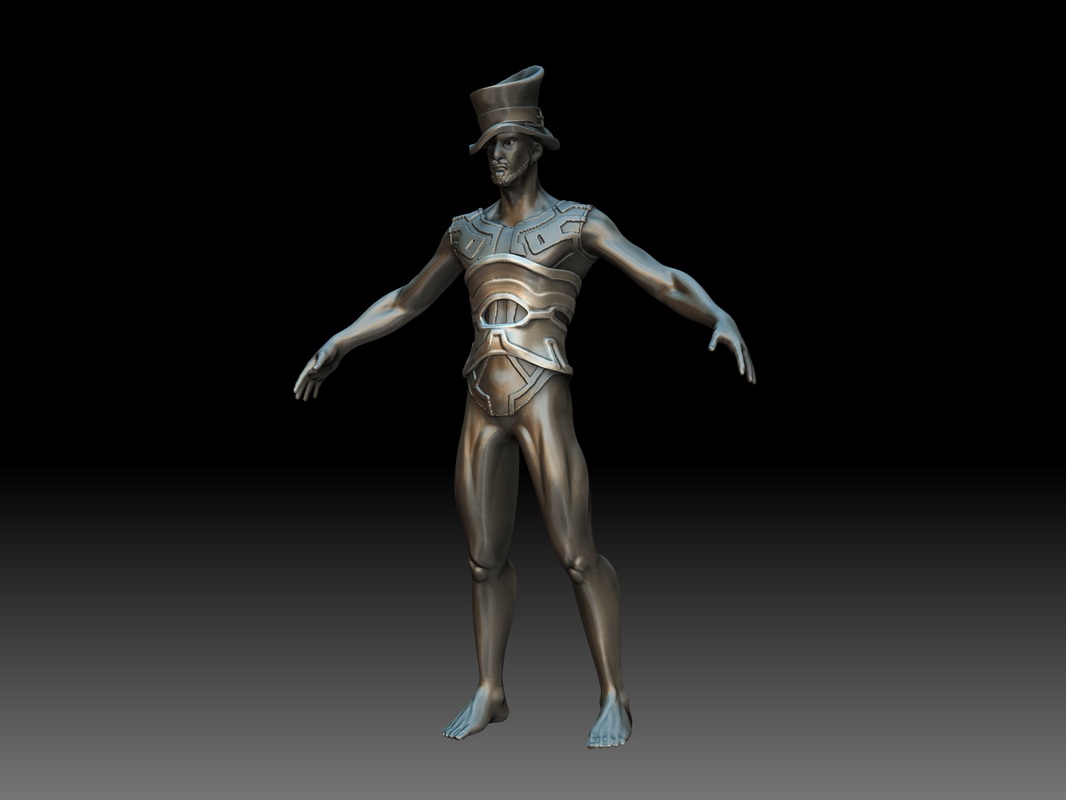
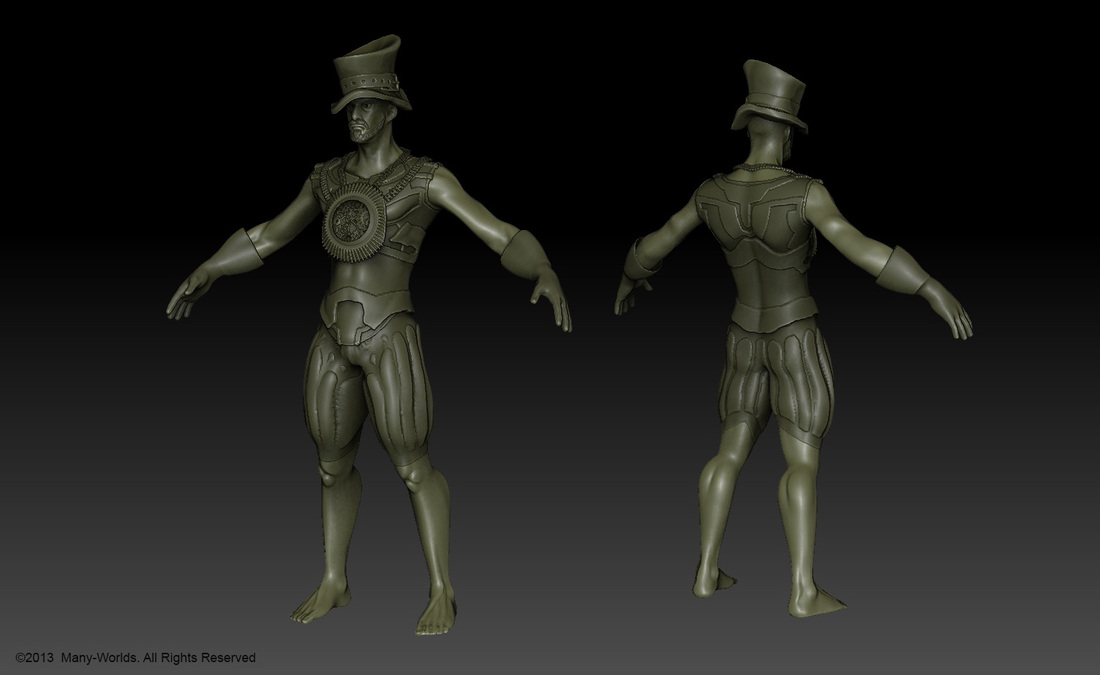
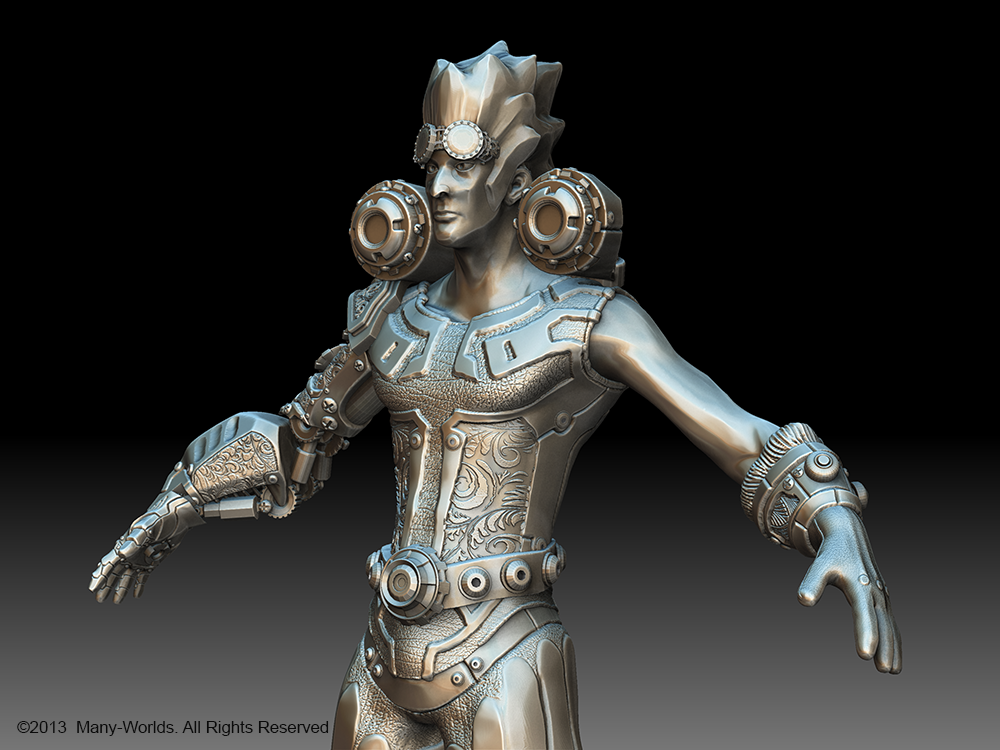
 For this character, we started creating the 3D model with a sculpting program, in such a way that an important part of the conceptual work was done directly over the high polygonization model.
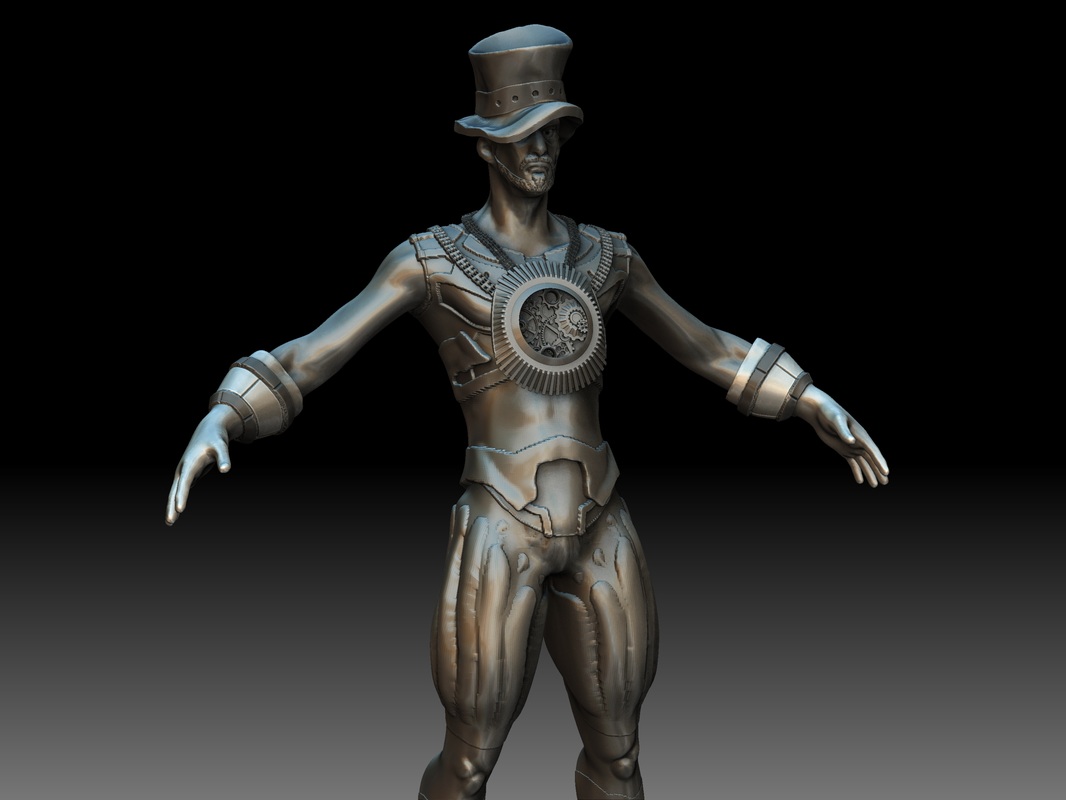
We can see in the gallery above that the character was not fully defined from the beginning, as he was wearing several items, like a strange top hat or a big medallion around the neck.
This doesn't mean that the concept drawing was unnecessary, in fact, once we got the idea a bit clearer, we started to create the concept art, to define how was the character going to be, what clothes would he wear and what colors would use. This would be useful later for painting and texturing the model.
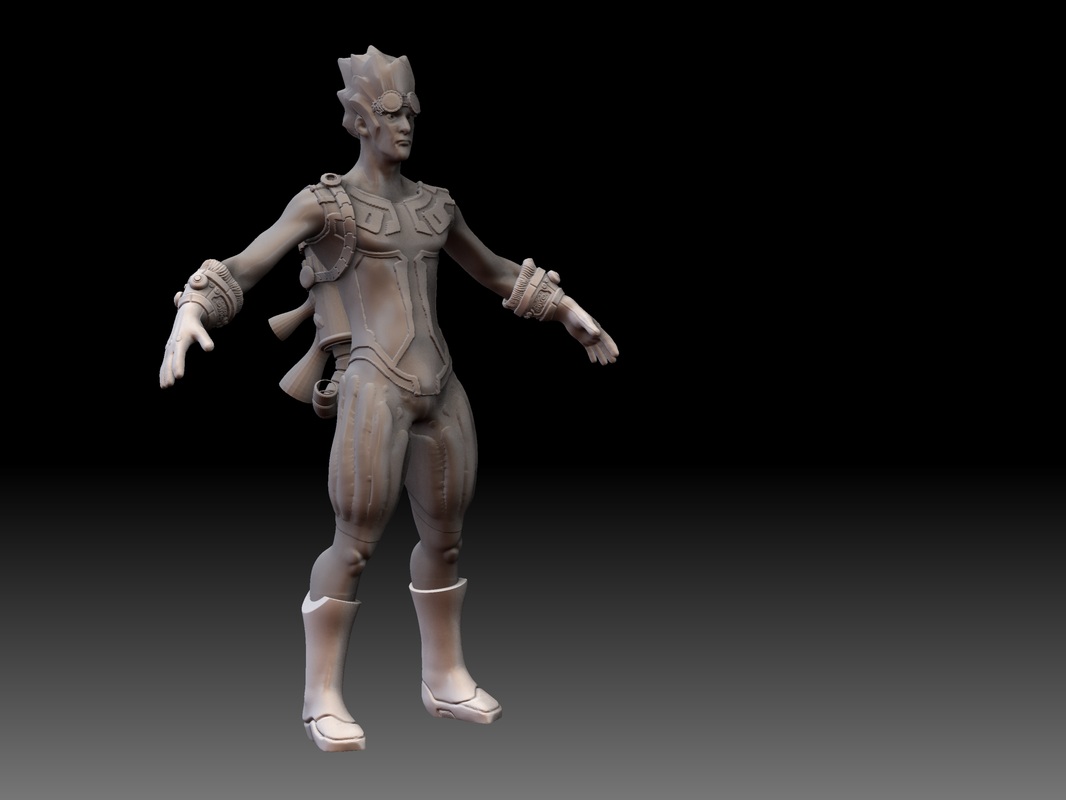
The technomancer in a conceptual modeling stage
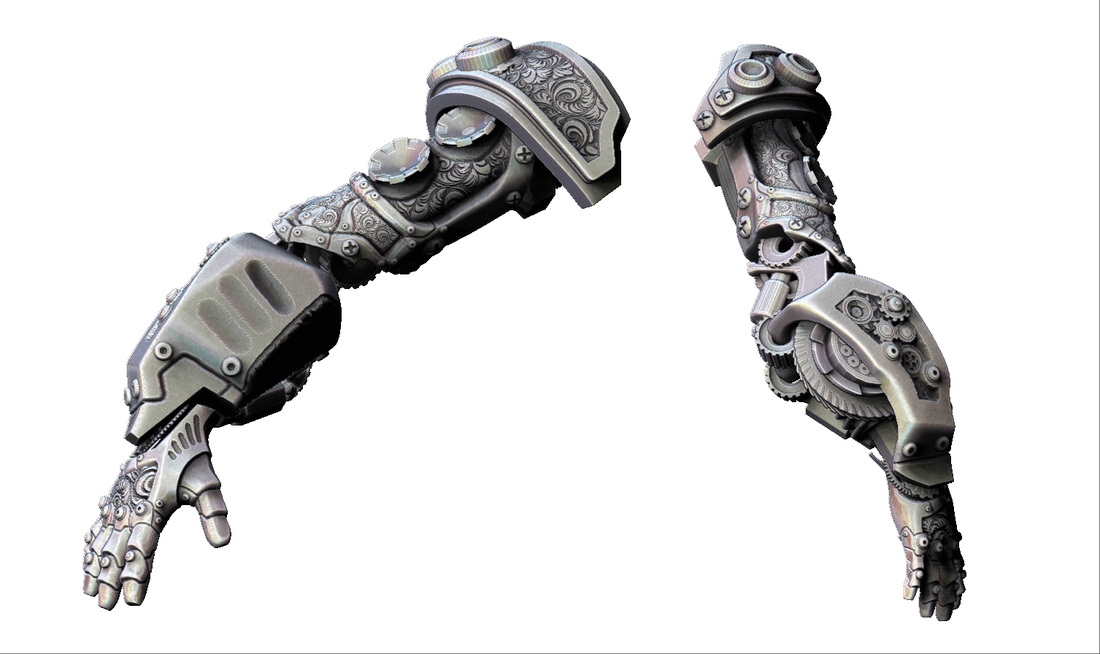
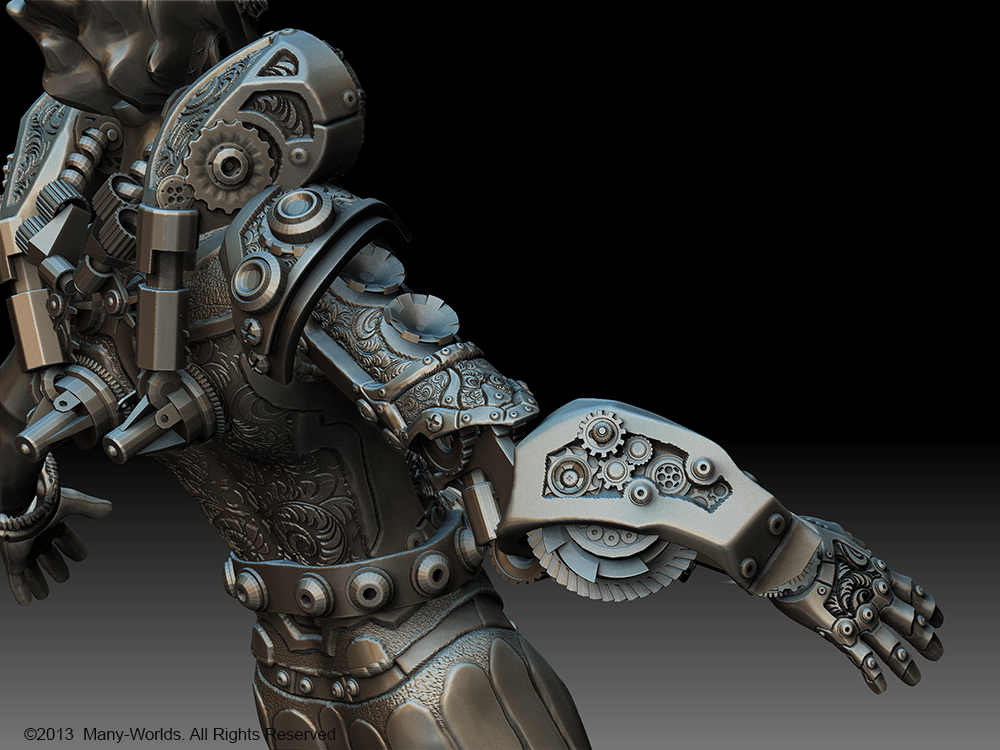
The mechanical arm
The arm was one of the most difficult parts to model, taking into account how detailed it was. Although everything was modeled at the same time, this mechanical arm will be interchangeable inside the game. The player will be able to choose from several alternatives that he will earn after battling long enough This will introduce an strategic component and it will allow customized Archmages.
In later blog posts, we will see how this arm will work and to deal with animations and visual effects. By now, we will have to settle seeing the result of the modeling process.
In later blog posts, we will see how this arm will work and to deal with animations and visual effects. By now, we will have to settle seeing the result of the modeling process.

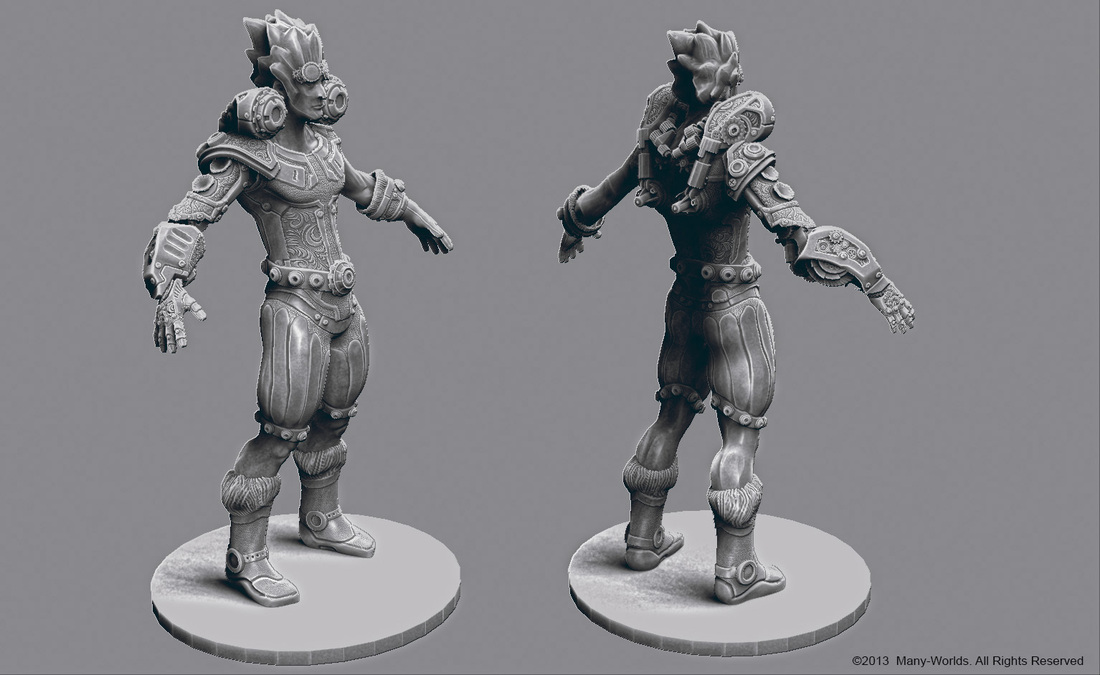
High poly final model
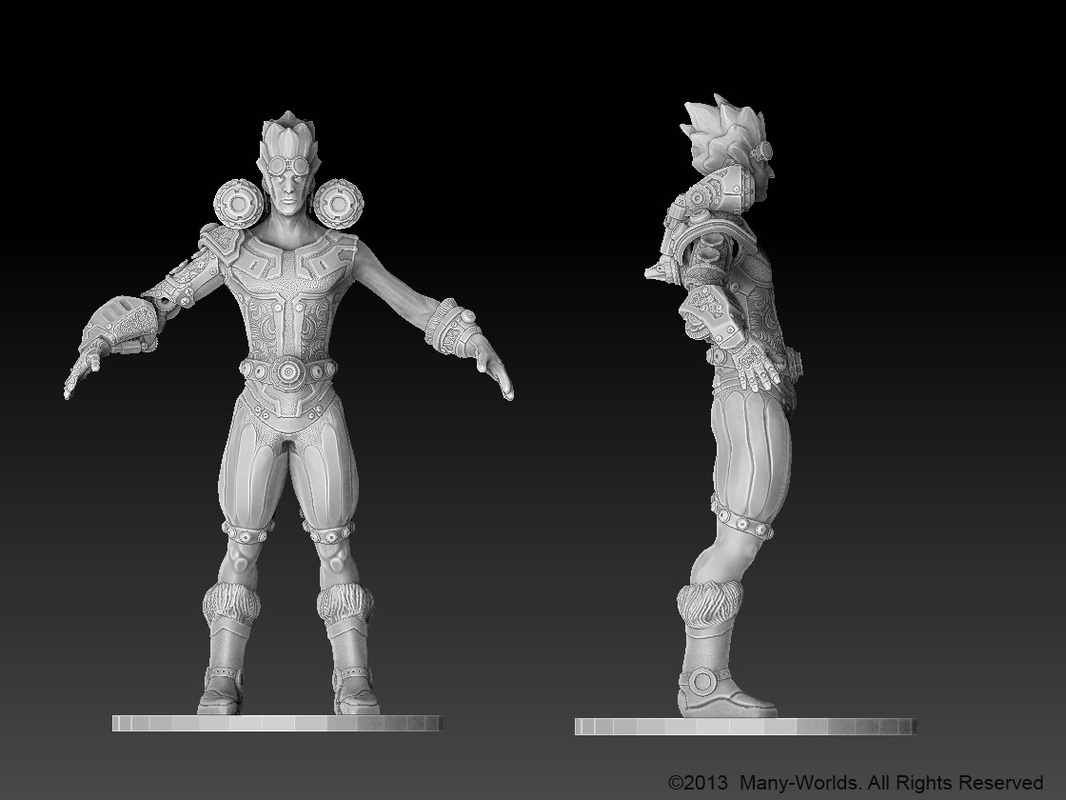
Front and side views of the model
He could use some color...
Now that our high polygonization model is ready, we start with the retopology process (to create a model with a reasonable amount of polygons so we are able to move it with a real time engine). First step is to unwrap the mapping for texturing.
This time, I chose to texture in an external painting tool, so I could use all the detail extracted from the high poly model to guide me when drawing every part of the body.
Although the material of the character contains additional maps, the normal map and the color map have most of the job done.
This time, I chose to texture in an external painting tool, so I could use all the detail extracted from the high poly model to guide me when drawing every part of the body.
Although the material of the character contains additional maps, the normal map and the color map have most of the job done.
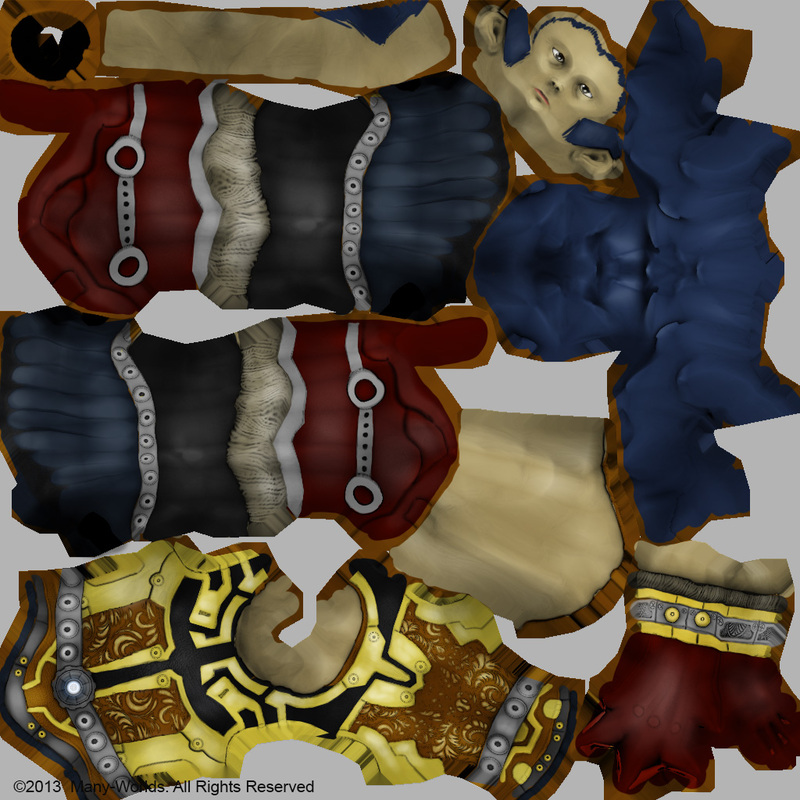 Color map | 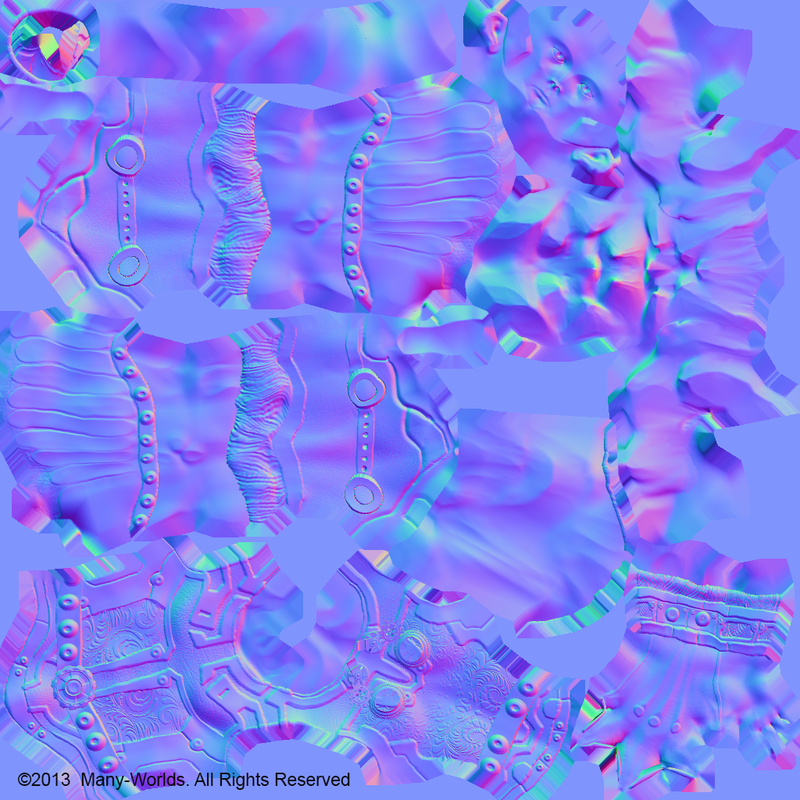 Normal map |
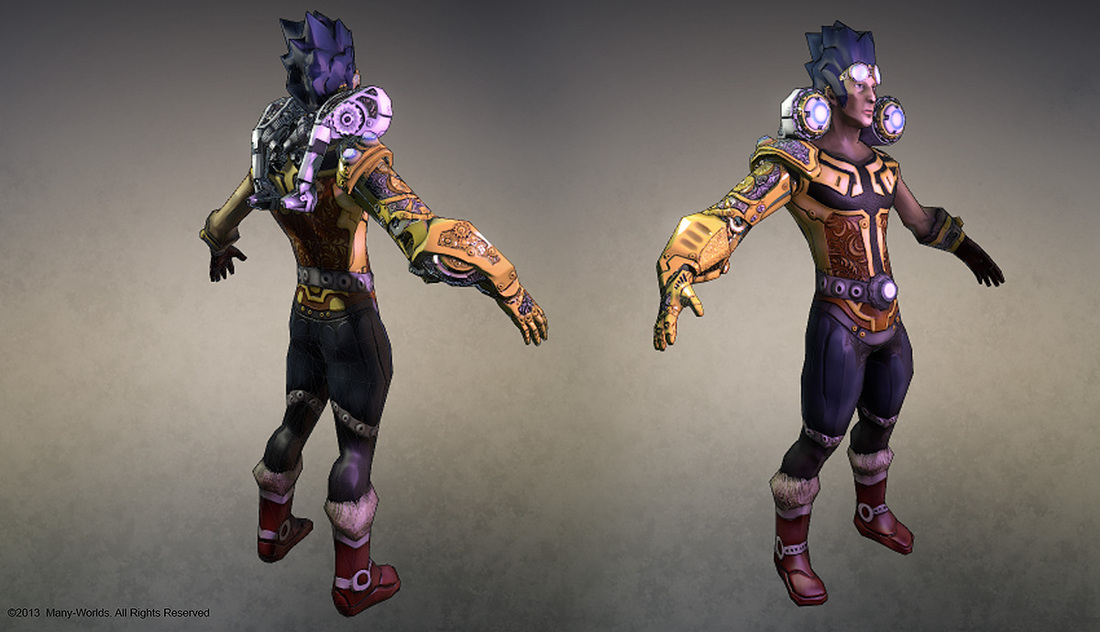
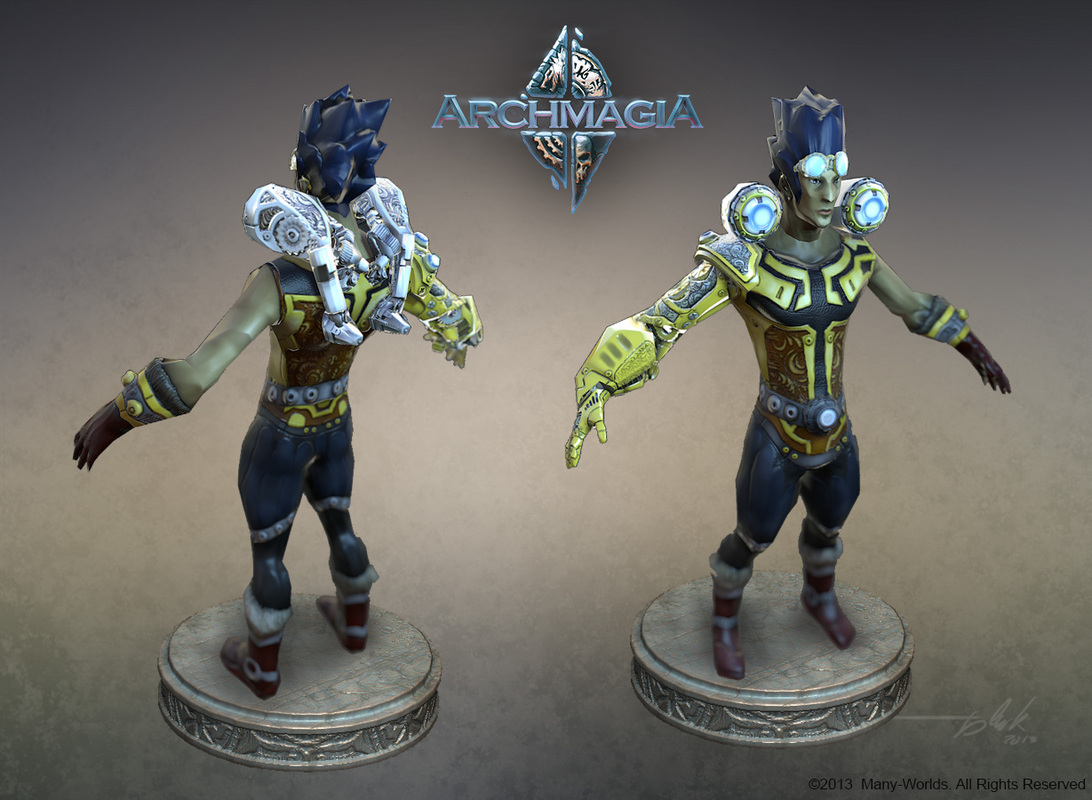
And finally, the definitive result! Our model is ready to begin the next stage and come to life.
As we always say, if you enjoyed this post, please share it on social networks and help us to spread the word! If you want us to let you know when new material is added, type your email in the right side form and we will send you an email every time we update the blog.
Thank you for your time. We hope you had a great time!
Thank you for your time. We hope you had a great time!
The Many-Worlds team

 RSS Feed